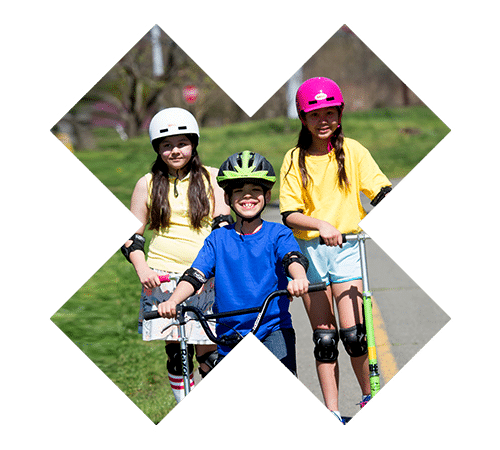
Nothing beats the excitement a child feels when they learn how to ride a bicycle for the first time. But with this new found skill comes the responsibility of learning how to be a safe bicyclist. Bicycles have been associated with more childhood injuries than any other consumer product aside from cars, and more children ages 5 to 14 are seen in emergency departments for injuries related to biking than any other sport. Luckily, wearing a properly fitted helmet can reduce the risk of head injury by 85% (Insurance Institute for Highway Safety, 2009). And in California, children under the age of 18 are required by law to wear a helmet when riding.

Bicycles, tricycles, skateboards, and inline skates can all be fun ways for kids to stay active and play outdoors. Here are a few tips to make sure kids are safe while bicycling:
Teach them to ride with traffic, not against it
Make sure they ride on the right-hand side of the road
Avoid riding when it’s dark or in bad weather
Use lights, bright clothing and reflective materials to make it easier for cars to spot you and your child
Make sure children are supervised by adults until they have a good handle of traffic skills and judgment
Left turn- Extend your left arm straight out, parallel to the road
Right turn- Extend your left upper-arm out to the left, bending your elbow up and pointing your fingertips up; or extend your right arm straight out to your right side, parallel to the road
Stop- Extend your left upper arm out to the left, parallel to the road and bend your elbow down and point your fingers to the ground
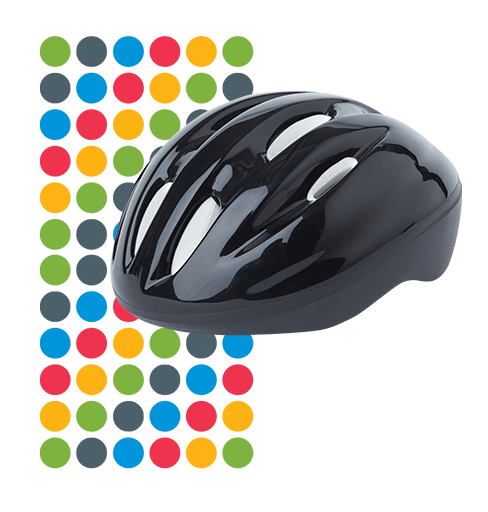
Use a bicycle helmet when riding your bike
Learn hand signals for right turns, left turns, and stopping
Wear bright clothing, reflectors and lights when riding at dusk or in the evening
Use the Eyes, Ears, and Mouth Check Test for proper helmet fit-
Printable HELMET FIT TEST Flier– Take the Fit Test in 11 languages!

Use the ABC Quick Check to check the safety of your child’s bike
A is for air pressure check.
B is for brake check
C is for checking cranks, chains and cogs
Quick is quick release, making sure quick releases on wheels are tight and closed properly
Check is for check it over; make sure your bike is ready to ride

Safe Kids Greater Sacramento Coalition Coordinator
916-734-9784
[email protected]